
Juegos para interactuar con el público y recopilar Zero-Party Data
Los juegos en redes sociales se han convertido en una herramienta poderosa, no solo para entretener, sino también para hacer marketing. A medida que los usuarios navegan por sus redes, se sienten atraídos por contenidos interactivos que les permiten divertirse,…
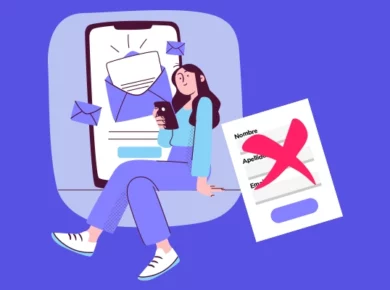
Cómo conocer más a los suscriptores de tu newsletter
Ya que dedicas muchos esfuerzos a captar nuevos suscriptores para la newsletter de tu marca, ¡aprovecha para conocerlos mejor! Te explicamos cómo puedes enriquecer su perfil con más datos utilizando las encuestas, cuestionarios y juegos de Easypromos, ¡pero sin que…
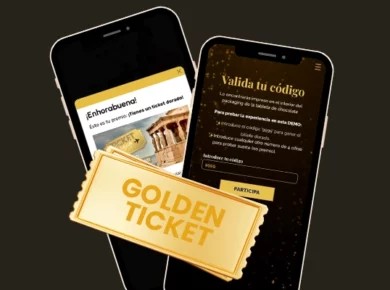
Promociones de Golden Ticket o billete dorado. Por qué y cómo hacerlas.
¿Has visto las promociones "Golden Ticket" o "Billete dorado" que han lanzado varias marcas? Es una acción de marketing creativa, parecida a repartir premios por momento ganador, inspirada en la famosa novela “Charlie y la fábrica de chocolate” de Roald…
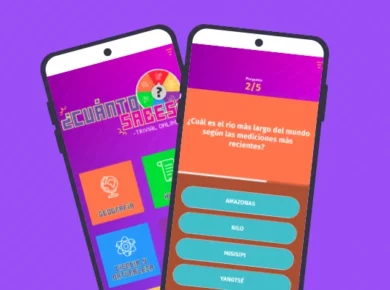
Cómo crear un trivial online para conectar con la audiencia de tu marca
¿Sabías que con Easypromos puedes crear un trivial online de forma rápida y sencilla gracias a nuestras plantillas preconfiguradas? Descubre todo el potencial de esta dinámica interactiva para generar atención, diversión y engagement con tu audiencia. Aprende cómo diseñar tu…
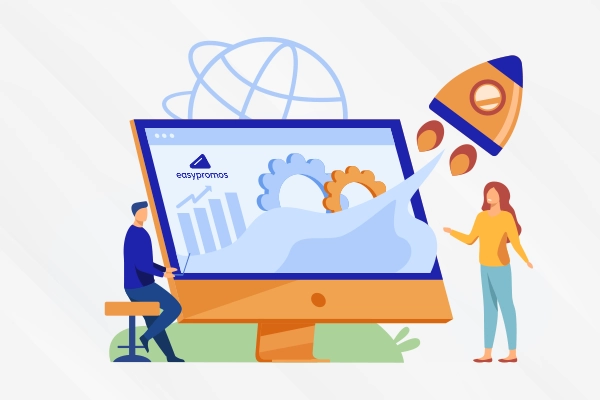
Cómo conseguir más clientes para tu agencia
Lo admitimos, el título parece puro clickbait, pero no te preocupes, no vamos a hacerte scrollar media página, vamos al grano de verdad. ¿Quieres conseguir más clientes para tu agencia sin desgastarte en reuniones eternas, PDF's aburridos o Powerpoints que…
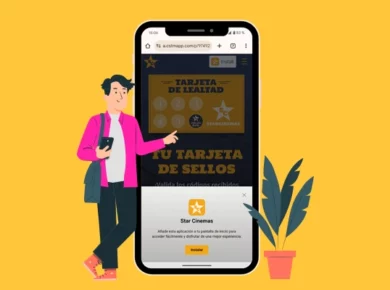
Beneficios de crear una promoción digital como una Progressive Web App (PWA)
En los smartphones es común acumular numerosas aplicaciones, ya que cada una aporta una utilidad en un momento específico. Si estás considerando lanzar una promoción de larga duración y deseas tener presencia en los dispositivos de los usuarios, este artículo…
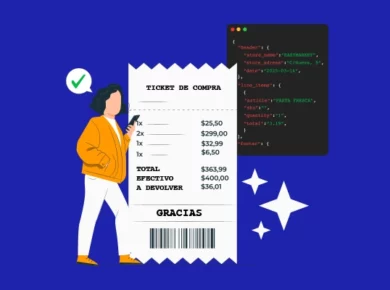
Validación de tickets de compra con IA de Easypromos
El sistema de lectura y validación de tickets de compra con IA de Easypromos es la solución más avanzada del mercado para crear campañas promocionales basadas en la presentación del ticket de compra. En este artículo te explicamos los puntos…
Formulario de reclamar premios ¿Qué es y cómo funciona?
En Easypromos seguimos innovando para ofrecerte las mejores herramientas para tus promociones. Sabemos que cada acción promocional es única y que gestionar la entrega de premios puede ser un reto. Por ello, hemos desarrollado la nueva funcionalidad, el formulario de…
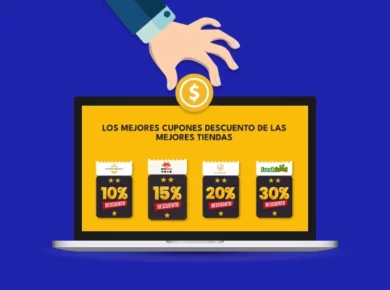
Cómo Monetizar la Cuponera Digital de Easypromos
La Cuponera digital de Easypromos no solo es una herramienta innovadora para atraer clientes, sino también una muy buena oportunidad para generar ingresos. Si ya sabes cómo crear y personalizar una cuponera digital y conoces sus beneficios, ahora es el…

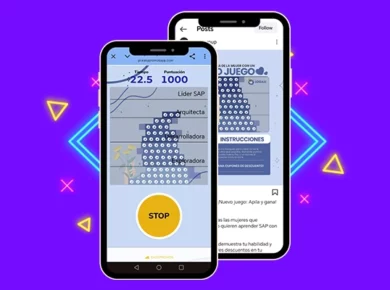
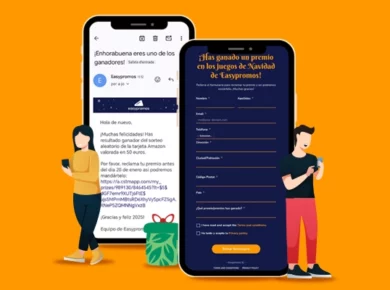
¿Cómo crear juegos de Navidad online?
Crear juegos de Navidad online es un proceso que involucra varias etapas: desde el diseño del concepto, pasando por la configuración del juego, hasta su difusión. Lo que parece una tarea muy especializada y solo apta para programadores, con Easypromos…

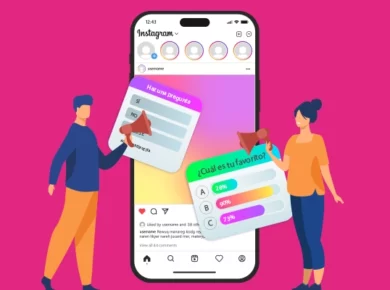
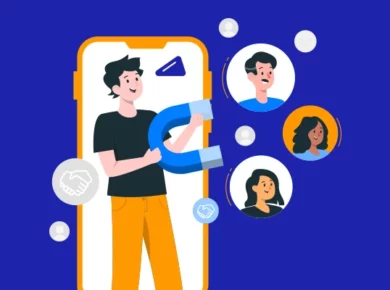
Cómo generar leads en redes sociales con contenido interactivo
Es la pregunta del millón: ¿Cómo se generan leads en redes sociales? ¿Cuál es el mejor tipo de contenido para llegar a los usuarios y hacer que comiencen el viaje hacia la compra de tu producto? En este artículo hablamos…

Ejemplos de encuestas para hacer en redes sociales
Las encuestas son una herramienta comercial y de marketing que permite aumentar la interacción con la audiencia, identificar tendencias y crear contenido relevante. En este artículo, conocerás los beneficios del uso de encuestas y verás algunos ejemplos de encuestas para…
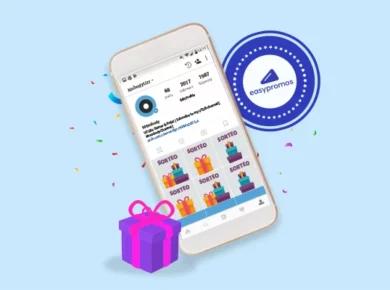
La mejor aplicación para hacer sorteos para tu marca
Los sorteos han sido durante mucho tiempo un pilar en las estrategias de marketing y casi se han trasladado por completo al ámbito digital. Por lo tanto, utilizar la mejor aplicación para hacer sorteos es fundamental para una promoción exitosa.…

Cómo hacer un sorteo en línea transparente y fiable
Hacer un sorteo en línea permite llegar a una audiencia más amplia y facilita la participación inmediata desde cualquier lugar, aumentando la visibilidad y el engagement. Con Easypromos podrás automatizar el proceso de selección del ganador, ahorrando tiempo y reduciendo…
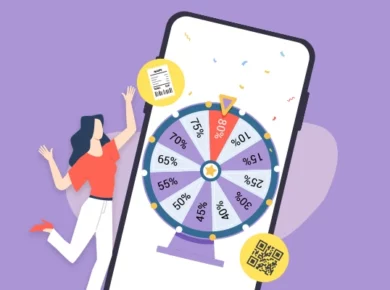
Ruleta aleatoria online: 5 ejemplos por tipo de acceso
Una ruleta aleatoria online es una dinámica interactiva que permite repartir premios entre clientes e internautas. ¿Has pensado cómo puedes restringir el acceso a tus ruletas promocionales? En este artículo te explicamos 5 ejemplos por tipo de acceso.